Eliminating Windows 7 Boot Partition

When installing Windows 7 on an empty or new hard disk or if you get a preinstalled Windows 7, you will find two partitions on your hard disk. One 100 MB sized reserved partition and the partition for drive C that contains the Windows installation.

Partitions

Under some circumstances this configuration may lead to a problem, since you can only have a maximum of 4 primary partitions or 3 primary and 1 extended partition on your hard disk. For example if you are planning to install multiple operating systems on a hard disk that comes with a preinstalled computer, you will often find a third partition for recovery purpose. So you can use the fourth partition either for data or for further operating systems, but you might want to use both.

Since current operating systems are able to boot from logical drives in an extended partition (that can host multiple logical drives) the maximum of 4 partitions might not be a restriction to you, but you might have other reasons, why you want to reduce the number of partitions.

Deleting the recovery partition is usually not a good idea, since it is useful for recovery and it often contains the recovery environment of Windows, so that you don’t need to start the recovery environment form a Windows CD.
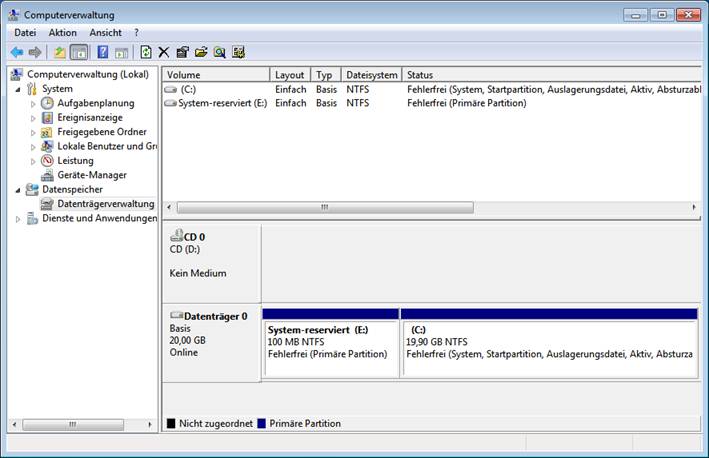
The reserved partition that comes with Windows 7 is used for the boot manager, but the boot manager could as well be placed on the C partition. The advantage of a separate boot partition is that you could keep on booting other operating systems in a multi-boot environment, in case of a corrupt operating system partition.

However here is a step by step guide how to eliminate the boot partition of Windows 7.

Please note, that you don’t need to go this way, if you start with a fresh installation of Windows 7!
(In this case you can force Windows 7 to avoid the boot partition by installing Windows 7 on a hard disk that already has empty partitions.)


First you need to boot your computer from the recovery environment!

xcopy

Now we have to get an overview over the current drive letters ...

(Note that the drive letters are mixed, since we booted from the recovery environment!)
... and the content of both partitions.


Then we copy the origanl boot directory to drive D ...
... and the two files left.
Now we have to change the active partition in order to switch to the right boot configuraten.

(Always one partition can be active at the same time!)
Display the current boot configuration of
drive D ...

(note the second line: 'device    partition=C:')

... and set drive D as the new boot partition.
 
(compare the second line)


Now we are ready to delete the boot
partition (C:)!